
There are a few different ways to create an order. They include:
-
In the majority of cases, order creation will be automated via API. When setting up the system your IT department will create an integration with your CRM/ERP system to automatically pass on all of the parameters to schedule your orders.
-
Single orders can be created through UI, from the Orders page.
-
Multiple orders can be uploaded through bulk upload by uploading a CSV file from the Orders page.
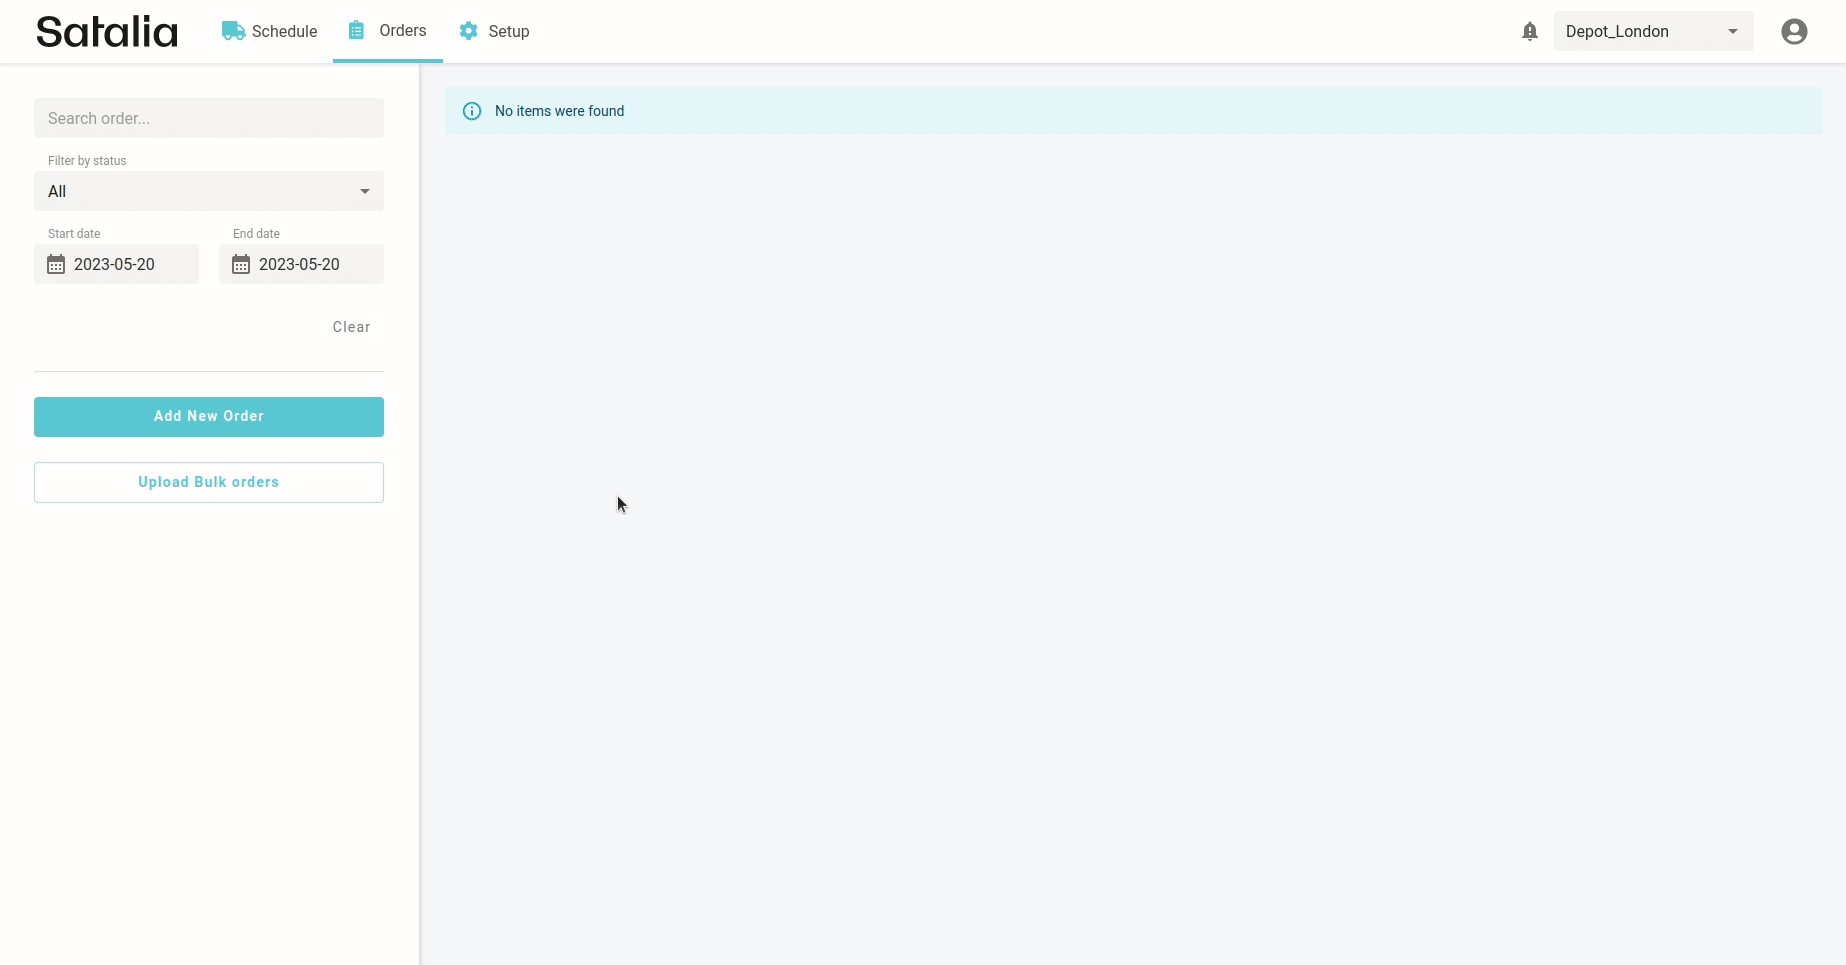
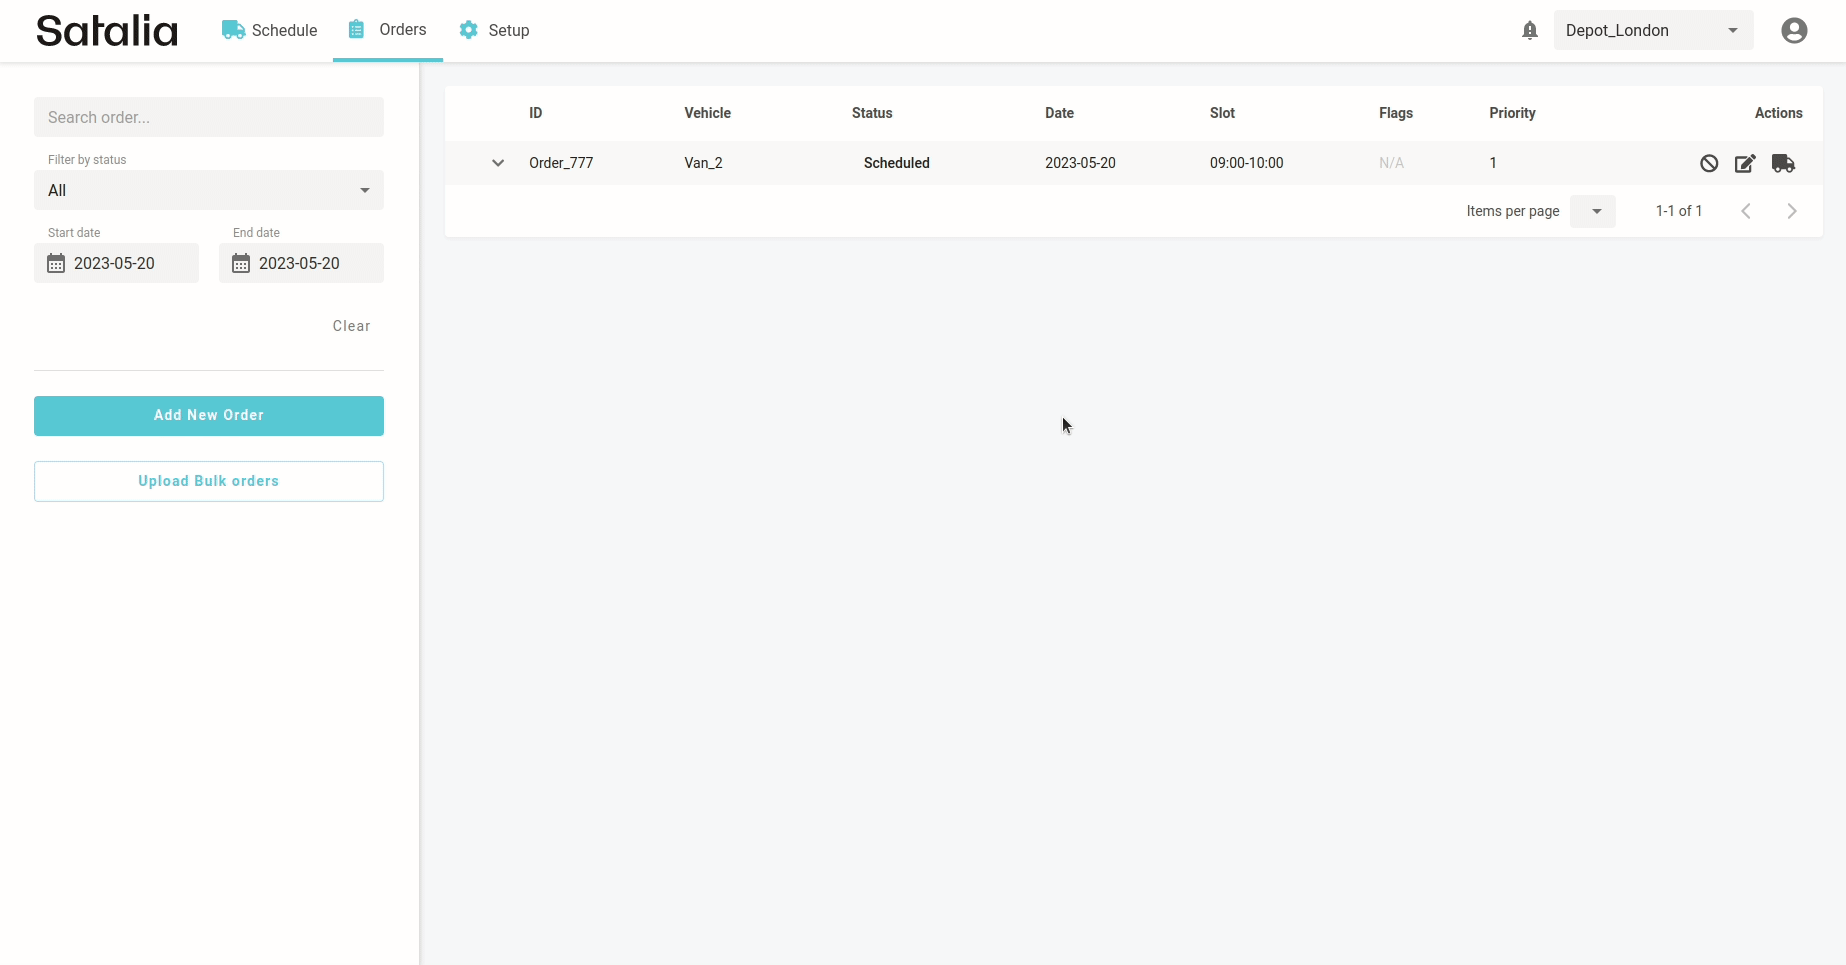
You’ll be able to see all created orders in the orders table on the Orders page, regardless of order status. On the Schedules page, you can only see scheduled and unscheduled orders.
It’s important to note there won’t be a schedule for the day that any orders are uploaded, which means they won't be visible as unscheduled. To see orders, you must generate the schedule for that day.
1. Creating an order through API
You can create orders through API. The key thing to note is that the “force” flag can be used. This means, that if there aren’t any free slots, any orders will be set as unscheduled. Otherwise, you’ll get a response saying there are no free slots.
2. Creating an order through UI
You can create an order through UI by pressing the 'Add a new order' button from the Orders page. The modal will appear and all necessary information should be filled in.
-
Order ID – a unique ID for an order that can’t be changed. You can find an order in a list or schedule using this ID.
-
Activity type - there are two types of activity: drop-off and pick-up. Drop-off means that the order is delivered to the customer. Pick-up means that the order is taken from the customer.
-
Service time - this is the time needed to finish the activity. For example, the required time to park at the customer location.
-
Slot length - the time range when a customer can accept the delivery.
-
Latitude/Longitude - marks the place where the order should be delivered.
-
Constraints - this is the capacity of the vehicle, and means that the vehicle can’t be overloaded.
There are two optional fields for an order: priority and flags.
-
The order prioritisation feature gives you the flexibility to define priority points for each individual order. Read more about this feature.
-
Flags is a helpful feature which allows you to match orders to trips. Read more about this feature.
3. Creating orders through bulk upload
Multiple orders can be uploaded by pressing the ‘Upload Bulk Orders’ button. Select the CSV file and the modal with data mapping will be visible. You should then check if every field is mapped correctly and then press the ‘Submit’ button. All orders will then be listed in a table. You should then check if everything is correct and press the ‘Submit’ button again. All orders will be uploaded and will appear as scheduled or unscheduled.
Example of CSV file:
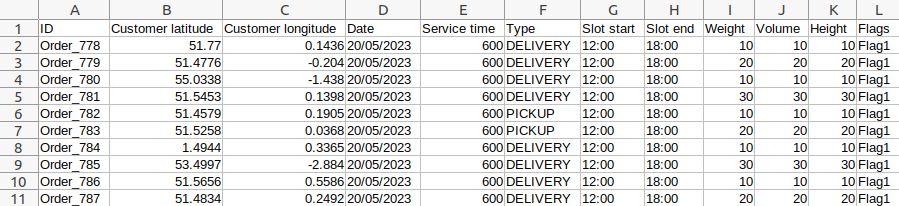
Note that information may vary depending on the configuration of your depot. For example constraints.
Download a sample CSV file from the link below: